Monday, 30 November 2015

M55 design study

Here is a picture of an M55 Mystic, along with a 3-view that I have used :


I'm not too keen on that particular colour scheme, but hey ho.  So, here you can see the quite large wing area that the Mystic affords the RC pilot, and also the anhedral.  Apparently, as the 'plane starts to fly, the wings load up and become "level" in the air.  I'm not sure how that works when  there is a tailplane between the booms up there, but anyway - I won't be including the anhedral.

Here is my first sizing sketch from 3D CAD : 

I stretched the span slightly, and increased the chord of the wingtip a wee bit too (because I'm like that - always have to fiddle!) and a 3m-ish wingspan.  This equates to 1287.2 sq inches / 9 sq feet (yes, jumping units here, you'll see why), and if I wanted 15oz sq ft ( this is why - I have no idea on loadings in deci-metre squared), the aircraft would have to be 8.4lbs in weight.

I think that's fairly do-able.  A nice glider-ish power ratio would be 80W per lb (at the top-end - I want this to get away from a solo hand launch on the flat too) gives me just under 700 watts of power - easily achievable.  

The next step then is to think of what that means in battery size and weight.  I haven't got anything 4S lipo powered yet, but I feel this would be best here for a big prop pushing from where the jet exhaust area is. So 700 / 14.8 (I=P/V) gives me a current at WOT of 47amps.  Nice.  

Want it stay up long?  Then let look at some BIG batteries.  A Zippy 5800mAh battery comes in at 20 ounces of our 134oz AUW, and a decent 850kv motor comes in at 5oz.  That leaves a lot of headroom for 8 servos, a flight battery, and the airframe.


Friday, 27 November 2015

Flanker cockpit area

Well, in between waiting for filler to dry, I have been working on the cockpit.  I carved this up from my favourite pink foam last night :


And I fired up the 3D printer at lunch time, after downloading these guys from Thingiverse :


So she's progressing well.  I should be nearing final sanding this weekend, then it will be glass > prime > fit cockpit innards > fit cockpit > red spot putty > top coat.

Can't wait to see her in the sky now!

Thursday, 26 November 2015

Possible Flanker colour scheme

I found this whilst browsing through tumblr - I quite like it!


I think it may be at the top of the list if I can find an underside view of it.
OK had a quick Google, found some!


Wednesday, 25 November 2015

Build and future project musings...again!

Well, here I am again wondering what will end up on the building board next.  I have a couple of refits to finish (F4 and Hunter), as well as the Flanker and the Sea Hawk (both coming along great) - so should I stop there?  Of course there is a 1/12th scale B24 that I really want to get airborne too, but as mentioned before, I'm not sure if that will end up PSS just yet.

As it's the PSSA's 30th anniversary next year, I wanted to get either an Alan Hulme Gnat, or the mass build Skyhawk built too in the new year - maybe both?

Then I still want to build something "EPSS" to cope with those times there isn't any wind blowing, so maybe I should concentrate on that before the season gets going? I am pretty sure that will end up a 3 metre span M55 Mystic - I intend to start the drawing of that today.

Then what happens to my other bits and pieces I really wanted to get done?  Perhaps I should move the 6th scale Me262 back to 2017, along with the Sukhoi PAK FA T50 and the large scale B36D.

So yesterday to make even more confusion, I drew up a 2.5m long / 2.1 m span B1 Lancer, that really gets the juices flowing :


Ugh.  I need to retire soon so I can get all this building done!

I will get plans drawn up for everything and then worry about it once I have the Flanker and Sea Hawk done.  I will upload some M55 pictures soon as I progress.

Tuesday, 24 November 2015

Flanker plastic parts

Here are some images of the first of the plastic parts going onto the Flanker.  The nose section I was quite worried about - it needed packing to obtain the correct angle but I still wasn't all that sure until the epoxy set.  Anyway, I am happy with the way it turned out, and so I filled the join with car body filler.  I have a bit more to do there to blend it, but it's coming along.


Now a general overview of the pink foam bulges under the wing roots.  One side is sanded fairly well, the other yet to be filled or carved.  I think I will blank off the intakes as per Matt's version.  It seemed to help a bit on my Fulcrum when pulling up hard, she bleeds off less speed with these blanked.


I have blocked out and carved the underside of the bee-sting now too.  Oh, it's been filled and sanded smooth all over since then!

A view from the rear - nice shape!


And now the other plastic bits - the exhaust nozzles.  I know Matt built his up, but I have tried rolling 1/64th ply nozzles in the past, and they ended up pants, so I am happy to use these.  Afterburners will be installed later, after glassing and spraying.

Not many tasks left here now :
  • Build up cockpit interior, shape cockpit
  • Fit wing-tips and make tip rocket rails
  • Create and shape ailerons, prefit hinges and function test
After that its final sand then time for glass!


Sunday, 22 November 2015

Some tweaked images

Here are a couple more tweaked images of the A10's flying.  Done by me for once!


Friday, 20 November 2015

Thursday, 19 November 2015

F104 flight

I forgot to add this - the pictures from the F104's first flight as a slope soarer.  She went quite well, but maybe it was a bit gusty for her.

Anyway, some pictures :


Tuesday, 17 November 2015

PSS A10 Thunderbolt II - 1/6th scale

She flies!  And very nicely too.  A great day's soaring saw me get the A10 and the new F104 maidened.  I am very very happy!


Friday, 13 November 2015

What a lovely 'plane!

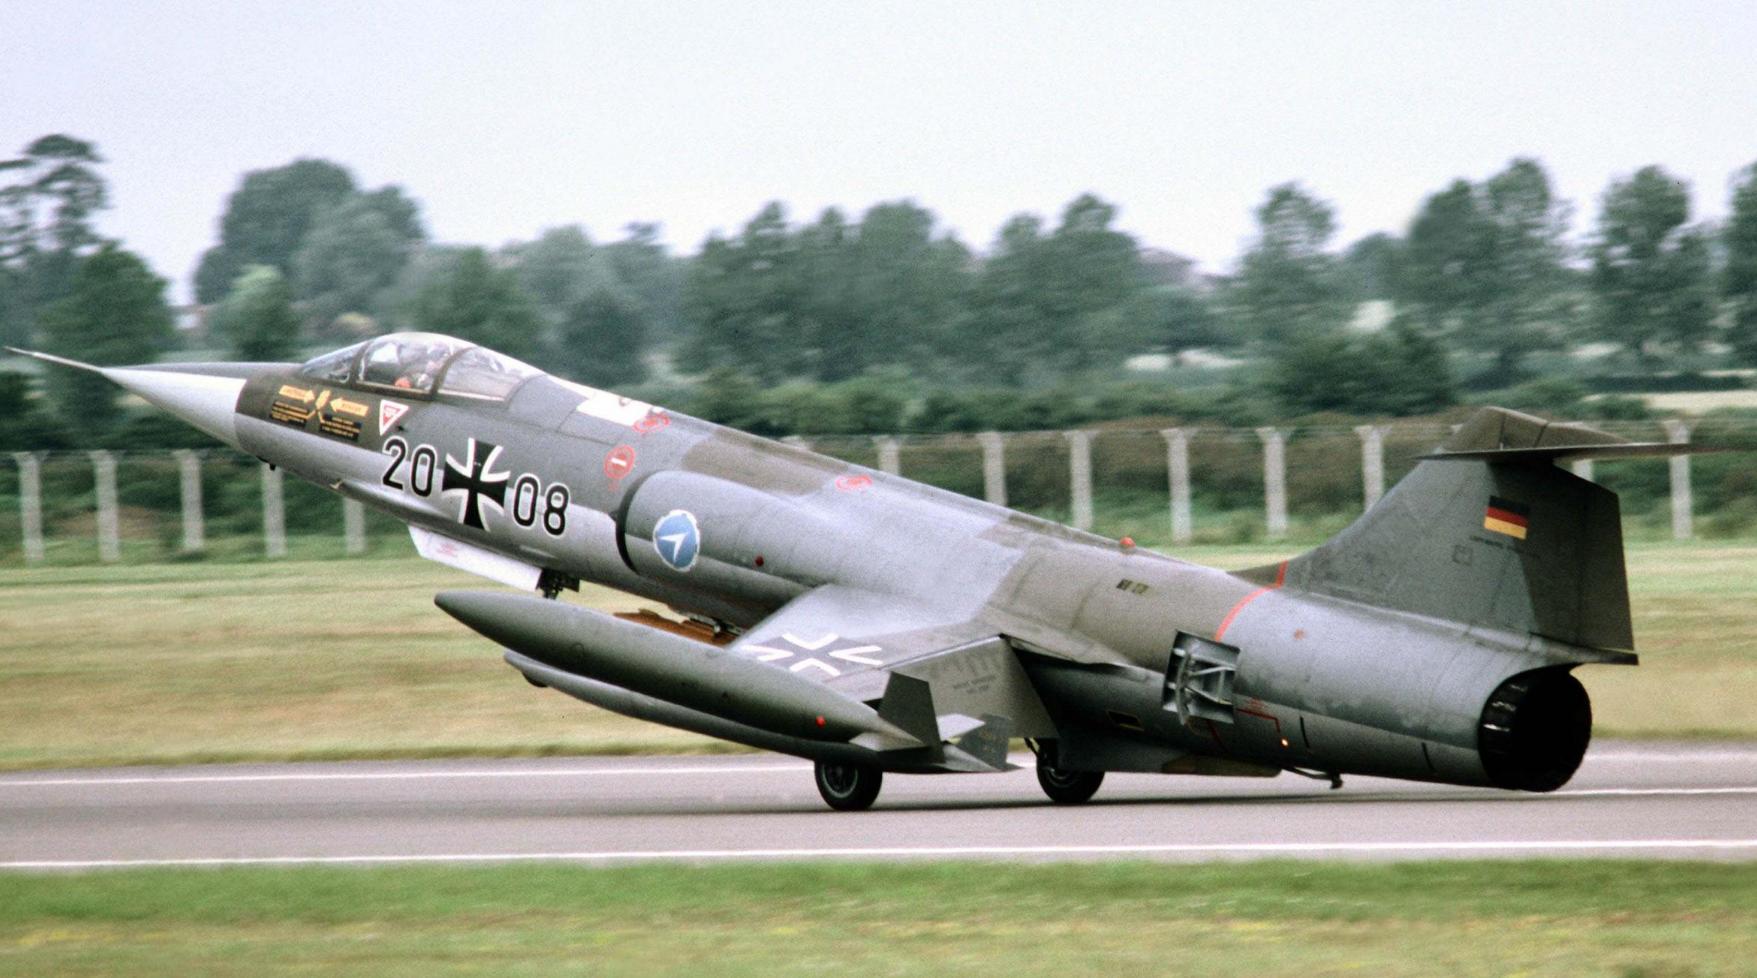
Such lovely colours on this Luftwaffe F104...guess what is arriving in the hanger shortly? ;) Yet more PSS of course!


Sanding and filling the Flanker

The build progresses nicely - lots of filler splattered here and there, a few filling blocks of pink foam squeezed in, and the sanding has started in ernest.


It's all going quite well at the moment, so may even see some glass fibre applied before the year is out, which will be nice.

Tuesday, 10 November 2015

Flanker planking

Well, it's been a few days since I posted, but there is some progress.  The Flanker now has top and bottom planking complete, the only extras needed are the..bulging..cheek...things under the roots of the wings.  These will be carved from pink foam.


On the underside, you can see two large black marks that denote where the hatch will be for the batteries (one for RC, one for afterburners), plus of course any ballast that needs to be chucked in the nose.

Friday, 6 November 2015

A slightly assembled Flanker

Here she is, now joined together.  Just finishing up a few gaps in the planking and the odd balsa in-fill, then on with the major sheeting.

It's certainly longer than the Fulcrum!