Tuesday, 4 April 2017

PSS fleet preparation, April 2017

Well, here is a post with a bit of everything on it, with random pictures from my phone from this week so far.

Fouga nose-light testing - I had to drop the 6.6v from the LiFe to 6v max with a regulator as apparently the LED unit has a max voltage at that value.  All programmed up now!


The mini A4 has been re-servo'ed, and also set up on the Horus.

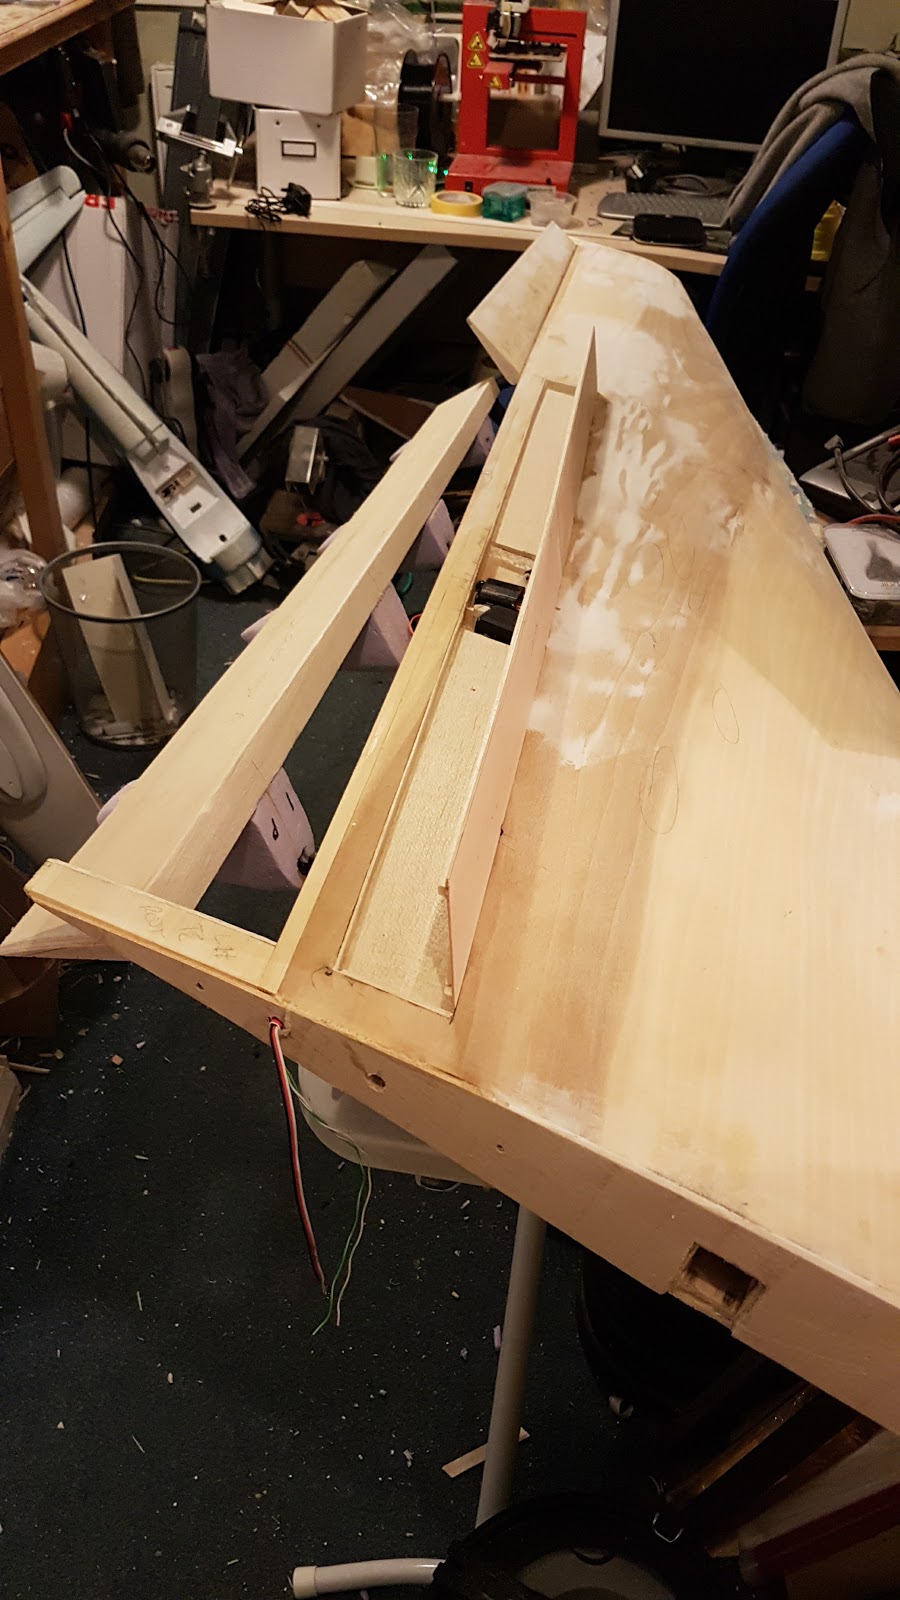
A bit of surgery for the A4 - tail incidence change.  This has now been blocked out with balsa and re-covered.


Fouga out in the sun after her satin lacquer top coat.


The little fatty!  She took about 5 ounces of lead in the nose to balance.


All pile on the scales.


Fouga detail shot.


U2 on the c-of-g rig.  Balanced between 5 and 8% stability.

Belly shot.  I've taped up the retract doors for now, as the maiden will be without it.


Looking forward to some flying this weekend.

Friday, 31 March 2017

Lockheed U2-S PSS - mods and readying

I have given the U2 a good walk-around and checked the fit and finish of all the moving parts, and came up with a few sticking points to sort out, most of which are done now, but here are a few of the more interesting bits.


Here is a view forward from the sing spar / engine access hatch.  The main spar is currently two separate stubs that are bolted to a machined aluminium ring with four Jesus bolts.  This is pretty strong - I've really tried to bend them upwards and nothing as moved, but I am still going to replace them with a single pass-through unit.  Obviously the previous owner was going to keep a fan in here so he needed the maximum airflow through.  I'm not as worried at this stage!

Further up the fuselage is the dual redundancy power switch (with two 2500mAh LiFe cells attached) and the main gear retract, in the down and locked position..

Which brings me to the nose install.  Here I am just getting a feel for the placement of the air tank and air valve before final mounting.  I had better run the airframe over the C of G scales first before mounting this lot solid, but I've just been getting a feel for things so far.

Monday, 27 March 2017

Lockheed U2-S PSS - new airframe

I was directed to this PSS U2 after a fellow PSSA member (who is now responsible for 3 recent model purchases!) sent me a message with a link to the advert.  I posted it up into the RCM&E / Modelflying Forum's PSS models wanted / for sale page and then thought nothing more of it.

After pay day I thought I'd drop the seller a quick email to see if it was still for sale, thinking that something this rare HAD to have been sold by now.  It wasn't!  A plan was formed and off we went to get it, wild camping in the lovely South Downs forests over night on the Saturday.

Here she is, anyway - 108", 10lbs AUW, 6 servo wing, steerable tail wheel, retractable main U/C with sprung oleo and gear doors etc etc.  In my opinion for the price - a complete steal.


She was originally set up for EDF, and I think I will drop one in for those light wind days still, but initially she'll just be pure PSS.

Monday, 20 March 2017

F104 Starfighter for PSS - build complete

Stick a fork in it, it's done :


All clear-coated and ready to fly.  the pics don't do the dayglo orange justice - it really is nice and bright.

Here's a couple of pics from the weekend's spraying and detailing session


Monday, 13 March 2017

F104 Starfighter and Fouga Magister build progress - in paint

A busy weekend for me doing work in the garden and popping into the workshop to spray paint on two airframes that I want ready for April's PSSA meet.

Fouga and F104 on their backs getting the light grey underside :


The lots and lots (and lots) of masking.  I hate masking :


Rolled over, then on with the top surface dark grey :


Yet more masking.  Did I say I hate it? :


Final top colour :


But I do love peeling masking off, especially with enamel paints, as their is never any risk of it peeling off :


Done and ready for decals, panel lines, and weathering.

I had some remedial work to around the Fouga cockpit, so unfortunately she didn't get included in the top coats.  I'm nearly done with that, so she should be finished this week too.  Hurrah!


Monday, 6 March 2017

C17 Globemaster III build - Alignment checks build up and wing work

I assembled the Big Grey Moose again on Saturday, one of her last full assemblies before the glassing starts, to check for fit and alignment of the fuselage sections and tail / wing parallelism.  All went well, even though it was quite breezy.  I should have been flying really, but it wasn't that warm and I'd prefer to be in the workshop currently.


Weight isn't too bad at the moment - she is just over 30lbs.  Her biggest problem is the weight of the wings - they are monstrous.  If she flies well, I may have to put some thought into a built-up, balsa sheeted wing - perhaps using the "min-waste" method of rib production once I have the CNC router built up.

So with that reasonable success, I rearranged the top shed so I could get a forward fus / wing assembly in there to sort the anti rotation pins and root blend.

First rough sand.  The trick here is to sand down to the parcel tape I've used a parting medium, and no further :


Getting there, and first pull-apart (phew, that worked!) :


Remove the tape and a final polish up.  That'll do I think :


Now it's time to flip her over and do the other under side.


Thursday, 2 March 2017

C17 Globemaster III build - small updates

Just a small update, as things are progressing well I've not been taking that many photos unfortunately!

Rear fuselage assembly, all brown papered and ready for glass :


Starboard wing moving along quickly now too, there isn't much work left on it now :


Right, back to it!

Wednesday, 22 February 2017

C17 Globemaster III build - controls

Some odds and sods from the C17 build this week.  I had the entire fuselage assembly up on the ironing board again to check alignment and gaps, as I had the filler out I knew some bits needed attention :


An elevator pushrod installed.  These are pieced together from M3 studding, M3 ball links, and an M3 quick link.  The ball sits in my tufnol sheet horns, secured (or at least will be when she's done) with an M3 socket head cap screw and lock nut :


Here is the top rudder servo, in place with its link.  I have passed the link through the stern-post and onto an aileron torque rod horn that was let into the rudder and secured with epoxy and plastic tube.  This keeps the rudders completely horn-free externally, and the servo will be covered with a flat plate for access :


M3 pushrod hardware on ailerons next.  These were from RCWorld, listed as an M3 carbon pushrod kit.  I'll be getting those again, they're great!


So, that's all the control linkages done, apart from the starboard flap.  The starboard wing is moving along quickly, and all I have left to do is the flap canoes.  The rear fuselage has now had its 3rd (yes, 3rd..) skim of filler and sanding back, and at this point I think is ready for the brown paper.

Items ready to glass are :
Front fuselage
Tailplane
Elevators
Ailerons
Port wing
...and as mentioned nearly the rear fus / fin assembly.  I will have to get a move on with printing the engines!


Monday, 13 February 2017

C17 Globemaster III build - Flap and spolier

Even though I had already tested these "loosely" earlier on in the build, I am getting close to closing up everything on the port wing ready for glassing, so I need to finalise pushrods, servo install positions etc.

Most of my time was spent trying to figure out what I had done last time, and going through old pictures on my phone to get that information!  In the end, I build a small test piece on a plank of wood, and proved out the linkage positions and lengths.

Here is a video of the flap operation, using the servo-slow function on my Horus :


Here are a couple of views with the "full stopping power" applied - ailerons and spoiler up, flap full down.  Hopefully that'll make this big beastie pull up quick on the landing run.


I actually think there is a little more down-flap available, so I could get perhaps 5 more degrees down, if required.

Thursday, 2 February 2017

C17 Globemaster III build - elevated horns

I have had delivery of a few extra bits and pieces recently, so I've moved on with the elevator horns.  These are cut from 3mm Tufnol plate, then epoxied in place through to the next skin with plenty of fillet all the way round :

 Some M3 hardware attached to the ball link, which also has an M3 threaded hole.  Nice short pushrods will be used here, see one of the digital HV metal geared servos in place below :

And lastly my 3D printed flap hinge blocks.  These will be mounted in the wing flap canoes, then the ball links will be glued into the flap canoe itself with a short run of M3 studding up it's chuff to secure it :